

It's time to put away your holiday crafting supplies because there's a new mini catalog with awesome new products to keep you crafting all year! The January-April 2026 Stampin' Up! Mini Catalog is here! Did you get your copy in the mail?


.jpeg)
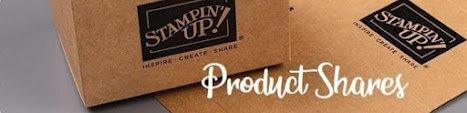
Try all of the new designer paper and ribbon from the new mini catalog and Online Exclusives for a fraction of what it would cost to buy it all on your own! Sample of everything for only $40+ postage! Reserve a Product Share

Watch my unboxing video to see new products from the Mini Catalog and card ideas to inspire you!


Bonus Days: Earn a $5 coupon for every $50 you order
(before tax & shipping, after rewards)
Redeem coupons in February!

January 2026 Product of the Month
Add-on the Fabulous Sayings stamp set for $5
when you order $75 or more -- while supplies last!

Order Now! Virtual Card Making Retreat Kit
Make 15 Cards with this Exclusive Kit
Live in the United States?
Shop with Me and order $40 or more to receive my monthly project kit! Learn More


.jpeg)


.webp)


![Banner Sayings Photopolymer Stamp Set (English) [ 167044 ]](https://assets1.tamsnetwork.com/images/EC042017NF/167044s.jpg "Banner Sayings Photopolymer Stamp Set (English) [ 167044 ]")
![Three Banner Punch [ 167050 ]](https://assets1.tamsnetwork.com/images/EC042017NF/167050s.jpg "Three Banner Punch [ 167050 ]")
![North Pole Delivery 12" X 12" (30.5 X 30.5 Cm) Specialty Designer Series Paper [ 165837 ]](https://assets1.tamsnetwork.com/images/EC042017NF/165837s.jpg "North Pole Delivery 12\" X 12\" (30.5 X 30.5 Cm) Specialty Designer Series Paper [ 165837 ]")
![Dear Dots [ 165848 ]](https://assets1.tamsnetwork.com/images/EC042017NF/165848s.jpg "Dear Dots [ 165848 ]")
.jpg "Stampin' Up! North Pole Delivery Card Ideas | www.juliedavison.com #stampinup")


.jpeg)